AZURE VIRTUAL DESKTOP
Requirements:
#Create
a Resource Group
#Create
a Virtual Network
#Create
a Host Pool
#Create
a Virtual Machine while creating Host Pool
#Assign
Users in the Application Group
#Add
Roles Assignment for “User Login” and “Administrator Login” in the Resource
Group
#Create
a Workspace
#Add
Application Group to Workspace
#Accessing
the Virtual Desktop using URL
------------------------------------------------------
Steps:
#Create
a Resource Group

#Create
a Virtual Network

#Open
Azure Virtual Desktop

#Create
a Host Pool


There are 2
types of “Host Pool type” which you can see at the bottom one is “Personal” and
other is “Pooled”. In Personal only one user can access it who is assigned to
it and Pooled allows to access the same machine to multiple users
#Add
Virtual Machine while creating Host Pool


Above in
the “Domain to Join” dropdown list select “Microsoft Entra ID” and below that
create the user credentials to login in the VM. Then click on “Review and
create”. After this it will automatically create the Application Group
#Assign
User in the Application Group


*Click on
Assignments

*Search for
the member and then select it

#Add New
Roles for “User Login” and “Administrator Login”
*Go in your
Resource Group and click on Access Control (IAM)

*Click on
Add and select Add role assignment

*Add role
for “Virtual Machine User Login” and add the member to it


*Now again
Add role for “Virtual Machine Administrator Login” and add the member to it


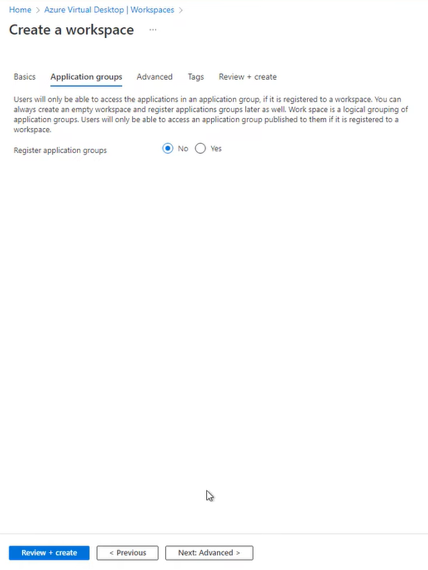
#Create
a Workspace


#Add
Application Group to Workspace
*Click on
“Go to resource”

*Select
“Application Group”

*Click on
Add and select the application group


#Accessing the Virtual Desktop using URL
*Go to this
site on Chrome click on the 1st link

*Wait for
it to Load and then select the 1st session Desktop on the Workspace
and then enter the login credentials
created while creating the virtual machine


*Now here
you are on your Virtual Desktop

